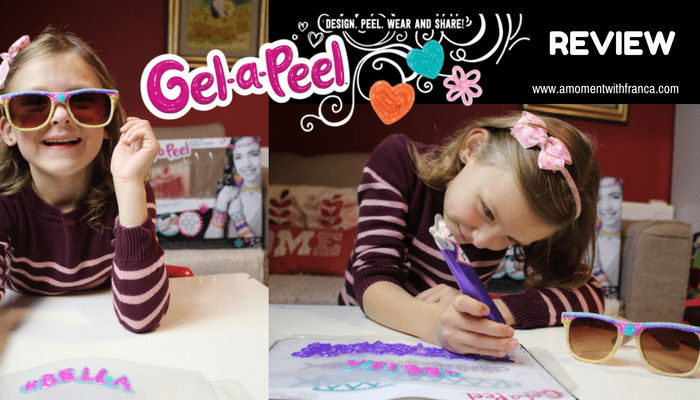
We received a cool product to review with Bella. It is a great new kids craft brand called Gel-a-Peel from MGA Entertainment. You can design cool accessories to wear like rainbow earrings, sparkly bracelets and neon necklaces. You only need to design, peel, wear and share!
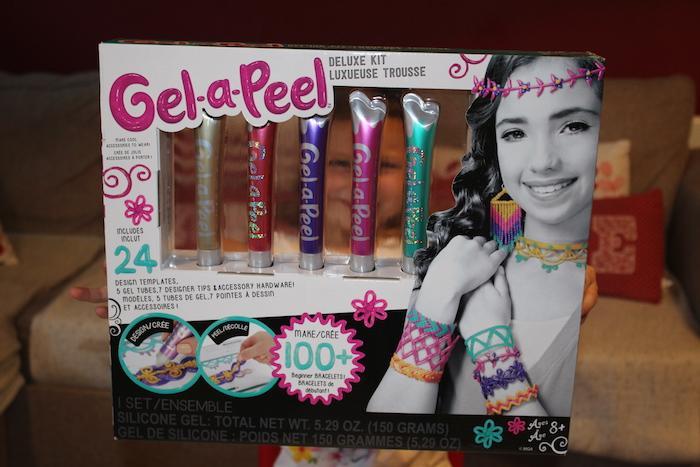
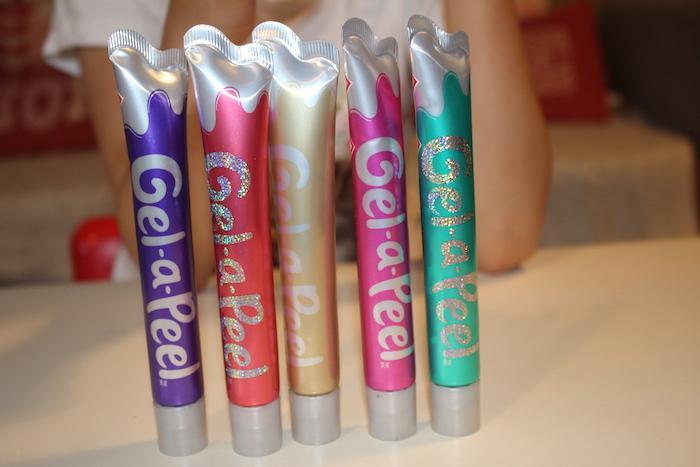
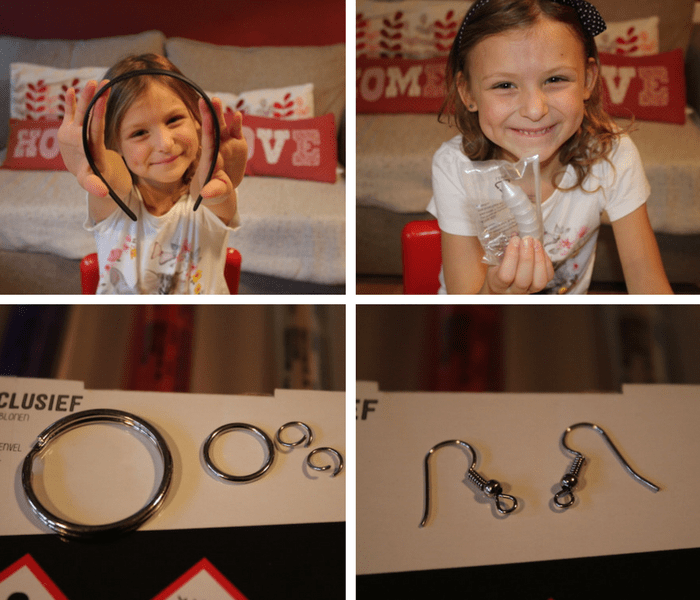
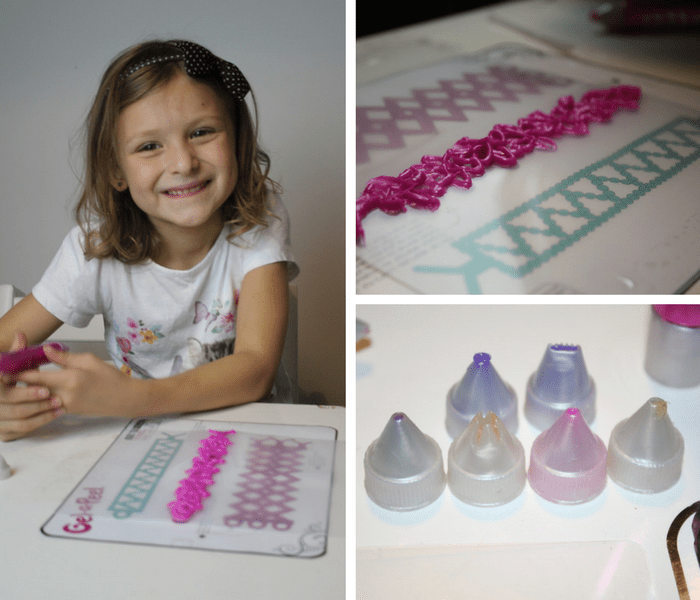
The Gel-A-Peel kit we received has everything you need to get you started. It included 5 new range of cool Gel-A-Peel pens with different colours, 7 designer tips which help you to create different patterns, clear drawing sheet, 24 design templates, sunglasses, headbands and items to help you to create earrings and keyrings.
The age for this activity craft is for 8 years old and above so we knew from the start that it wouldn’t be easy for Bella as she is only 6 years old. She needed a lot of supervision in order to design her creations.
They have 4 different kits to buy: the Starter Kit for £4.99, the Accessory Kit for £14.99, the Deluxe Kit for £24.99 which is the one we got and the Design Station for £29.99.
How it works:
- Choose one of the templates supplied in the pack.
- Pick your coloured pen and choose a designer pen tip to create your desired effect.
- Place your template beneath the clear acetate sheet provided and trace your design.
- When it’s fully dry, peel off your design to wear and share! Check the drying time on your template.
You can pick different designer tips to go on your pen; you can use the round tip to create a circular or beaded effect, you can use the star tip to make cute star shapes or you can use the rake tip to make your design wavy.
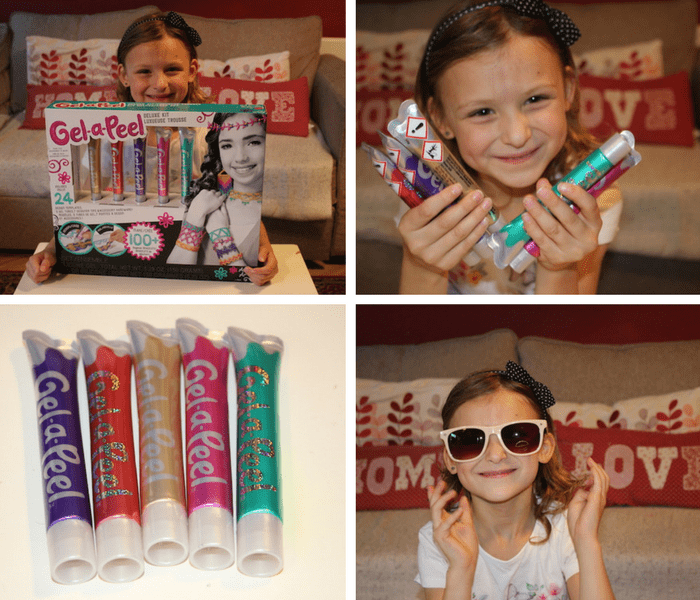
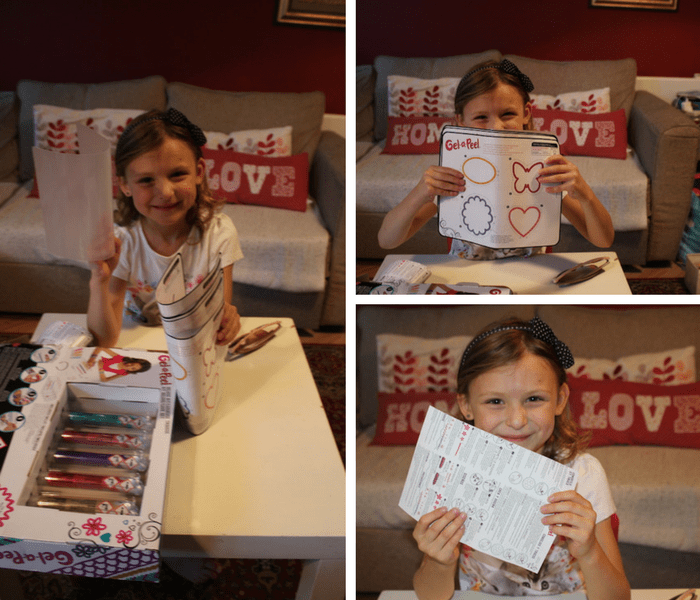
When we were ready to start this kit we put all the contents together on the table. Each Gel-a-Peel pack comes with a clear drawing sheet to design on. Ours came rolled up, so after reading the instructions we had to roll it in the opposite direction and run it under warm water for a few minutes to flatten it. You need to make sure it’s fully dry before you start designing, though.
You will also need to tape your template and clear drawing sheet to a flat surface before starting. So we got the tape and had our first template ready to put them together. Bella wanted to try the pens on one of the templates to see how it feels. You should make sure the gel lines are thick and that they all connect. This was not very easy for a 6 year old but with our help she managed.
It is very important that you check the drying times listed on each template as each design has different times. We didn’t realise about this initially. We thought it was going to be done quicker but the truth is that to have a good result you will need to leave it to dry for several hours (e.g. over night). This is my advice anyway. Maybe having more clear drawing sheets inside the kit could be a solution for this issue as you can design much more creations and have them all drying during the night so then the next morning you can peel them off and have some fun showing them all off! 😉
As you can see from above, we had to do this activity within a few days. Bella designed a few the first day, let then dry and we peeled them the next day and we did the same another day. Within a few days, we had 4 different designs.
This is what we did:
SUNGLASSES
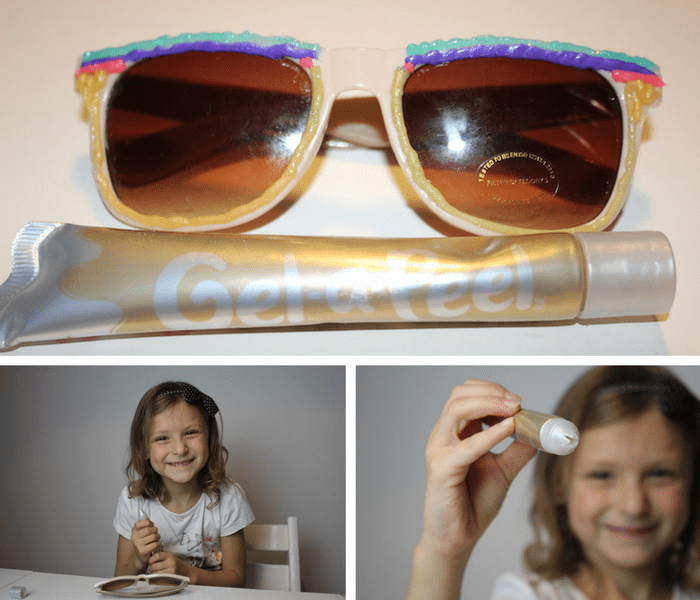
This was a cool activity to do. Bella loves wearing sunglasses. As soon as she sees the sun is out she immediately wants to wear some, so this was a perfect activity for her.
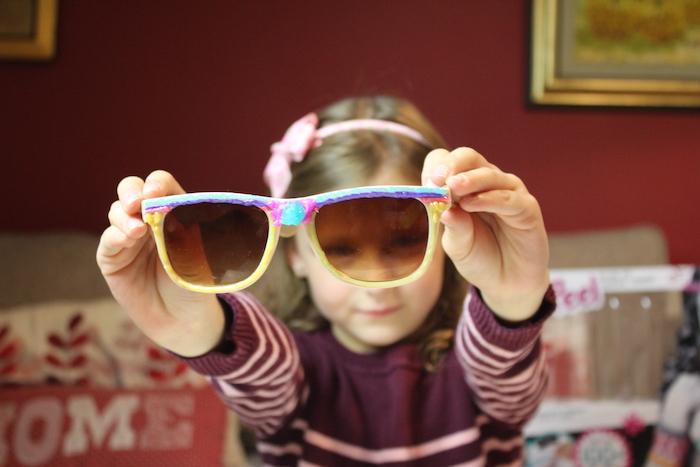
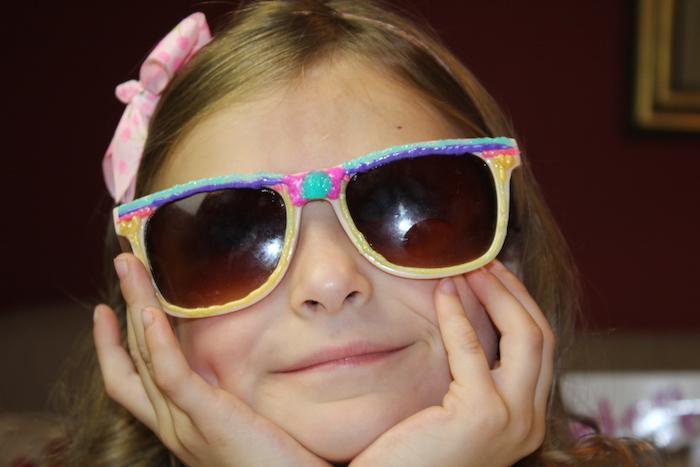

I must admit that it was not easy for her to do this as she was struggling to keep the gel on the sunglasses! LOL. So we helped her but she gave us the instructions of what she wanted. I think even for us wasn’t easy. But I was happy with the results! 😉
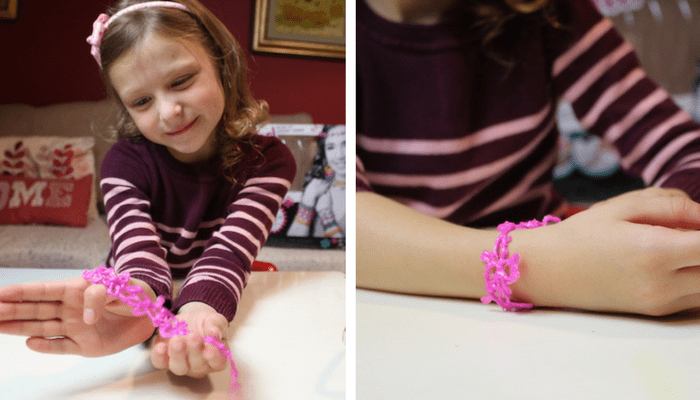
BRACELETS
Pink Bracelet
Purple Bracelet
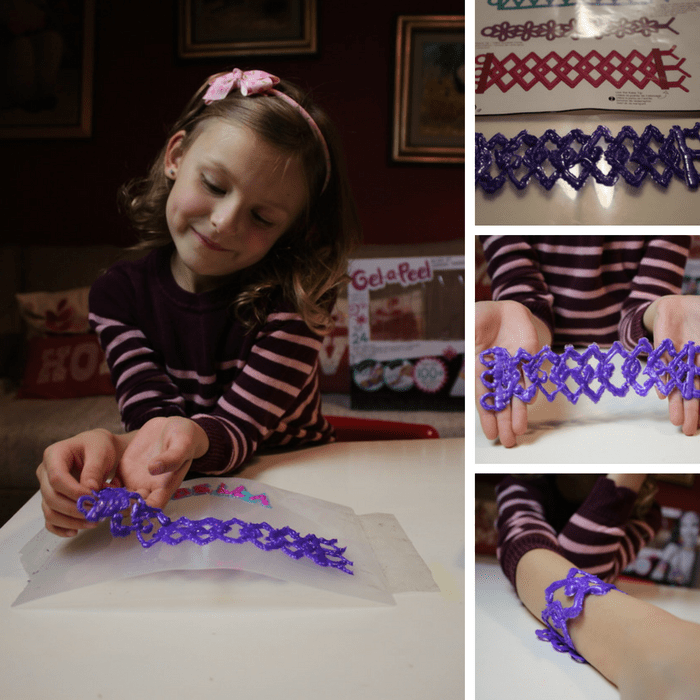
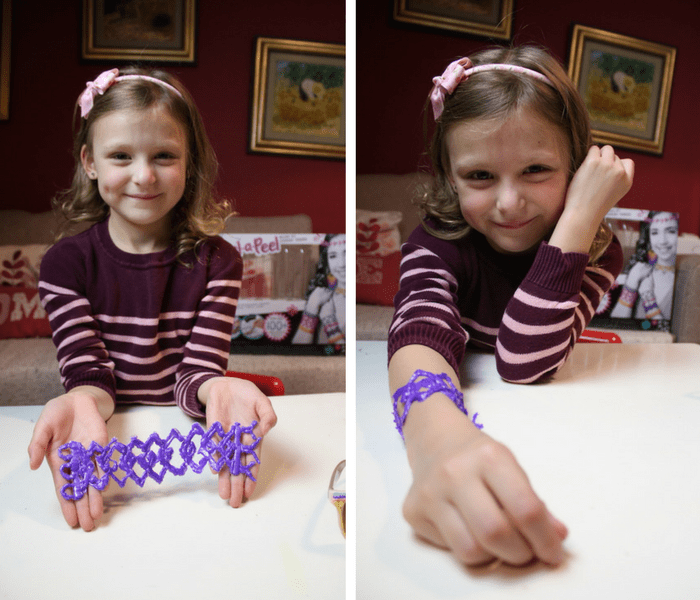
We made 2 different type of bracelets from 2 different templates. Bella had the same problem again. She found it difficult to keep the gel in the lines and also she kept pressing it too hard so she had a lot of gel coming up!
She wanted to use the star tip but she thought that it was hard as all the gel was coming up a lot as it had a bigger hole so then she tried a smaller circle tip and it was much better for her.
I, of course, was there to help so the I kind tried to touch it up a little bit and be sure that all the spaces were filled up. We then left them to dry during the night.
I think both bracelets came out great! They were very cool. Not bad for our first attempt! 😉
KEYRING
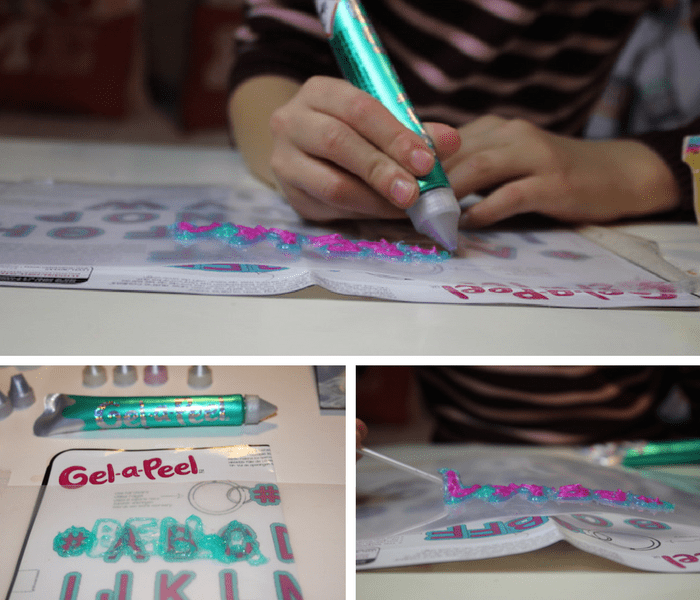
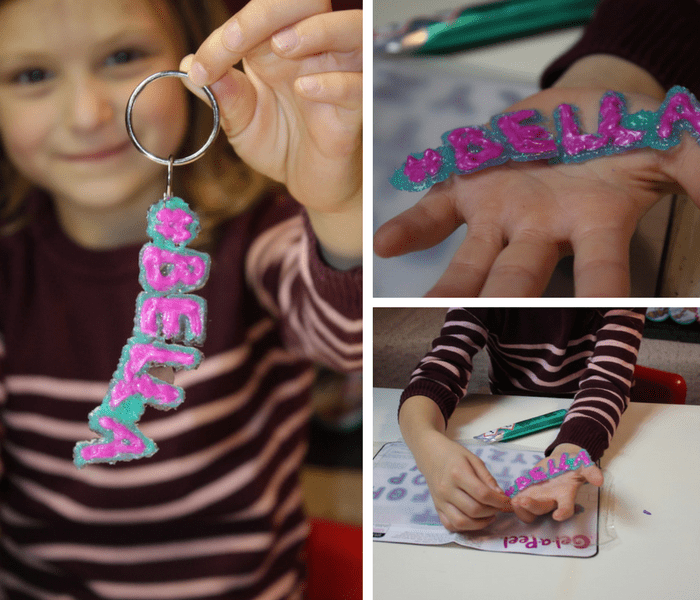
For this one, Bella wanted to have her name done, so we filled the letters of her name and used the different colours suggested.
We did the same as above and then we left it to dry overnight. The next day Bella peeled it and we used the hardware accessories we received in order to achieve a keyring look.
We put them all together, this was also really nice. Bella really liked it. I was just worried about how strong this will be and for how long this will last. It actually broke but one tip I read was that if your design breaks, you should not worry as it is very simple to fix. You just need to use the gel again to reattach the broken pieces and let it dry. This was very helpful to know. We managed to fix it and it has still been okay until now! 🙂
OUR OPINION
I think this kit is a great activity to do with your kids but I would recommend it for older kids. I think even 8 years old may be a bit young, as you would like them to be able to have fun on their own. Apart from this, I think it was great fun and all Bella’s designs came up fabulous! She liked it and enjoyed doing them. I’m sure this will be in a lot of kid’s wish lists for Christmas!
You can watch a how to do video HERE, also you can watch how to create different effects HERE, or browse their Facebook page for even more ideas!
Have you heard of Gel-A-Peel? What do you think of it? Will this be something fun to get for your kids or maybe as a gift? Please leave a comment below as I would love to read what you think.
*Disclosure: we received the Deluxe Kit in exchange for a blog post. However, all the thoughts and opinions are my own.
Thanks for stopping by,
Love you all ❤️
Franca 💋
Linking up with:

INTERESANTE EL PRODUCTO. INSENTIVA LA CREATIVIDAD.
Si es bien interesante! No es muf facil pero es divertido. Gracias mama por comentar 🙂 bso